In this article:
Before you start
Why use tags
Using tags to filter your lists of email templates has many advantages, enabling more efficient and targeted management of your email communications. Tags help you organize and categorize your templates in a consistent way, making them easier to find and use. They let you quickly classify your templates under different themes or categories, such as promotions, newsletters, holidays, birthdays, work departments, etc. Furthermore, they encourage better collaboration within your teams, helping them to easily find the material they need to design their communications.
How to use tags
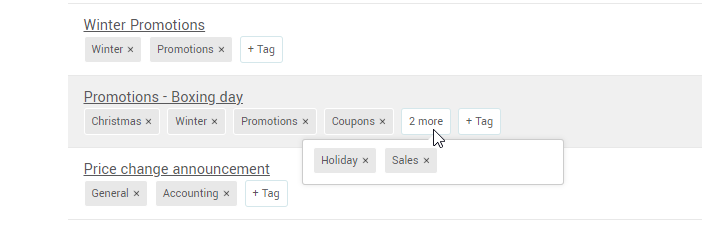
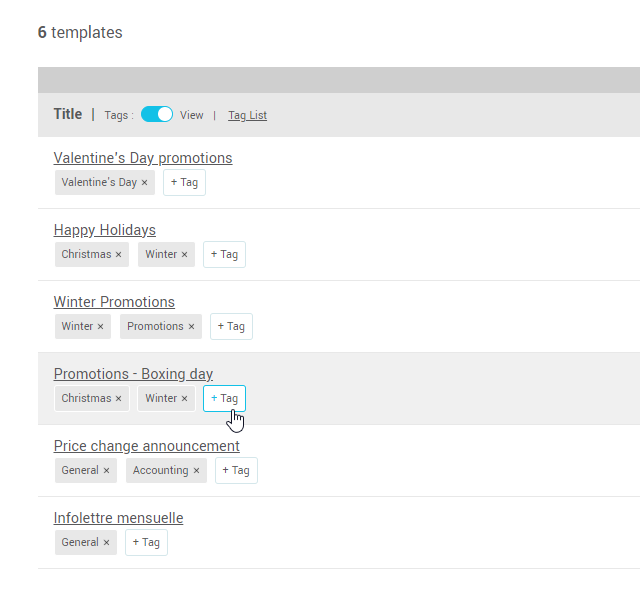
You can add as many tags as you like to your templates, allowing you to categorize them in a variety of ways. For example, a template can be categorized under "Promotion", "Christmas" and "Coupons". Once the tags are in place, simply click on their name in the search field to filter the list of your templates. You can also search for multiple tags simultaneously. You can include up to 30 characters in your tag names. Each tag name must be unique.
Add tags to a template

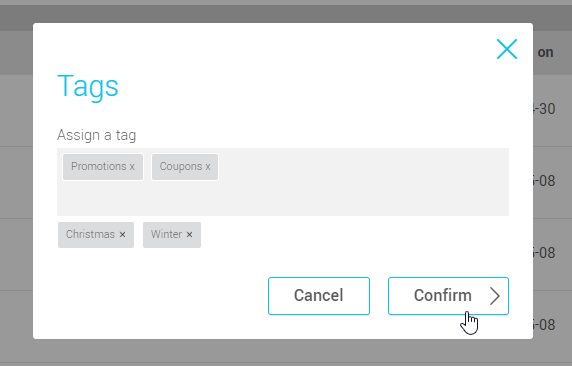
To add tags to your templates:
- Click the button below the title of the template you wish to categorize.
- In the Tags window, enter the name of the tag you want to add to the template.
- If the tag already exists, it will appear in the list below the field. Click on it to add it to the list of template tags.
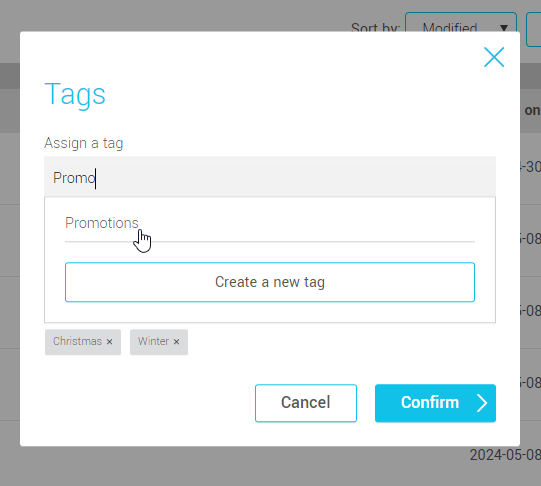
If the tag does not exist, click on the Create a new tag button.
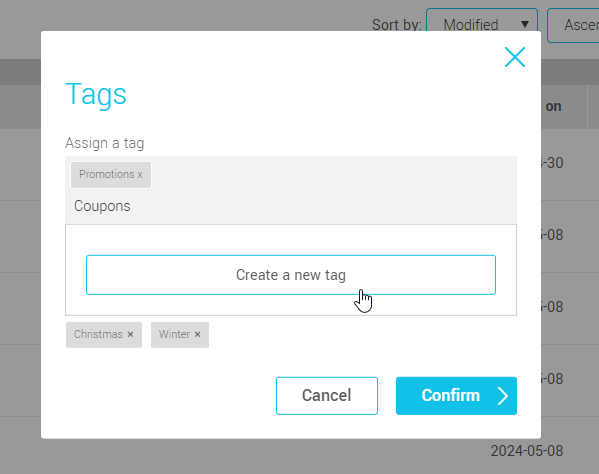
- Click on the Confirm button to complete the addition.
Remove tags from a template
To unlink a tag from a template, simply click the X on the tag. You can also do this from the pop-up window for adding tags to the template.

Filter templates with tags
To open or close the tag search, click on the Filter by tag button.
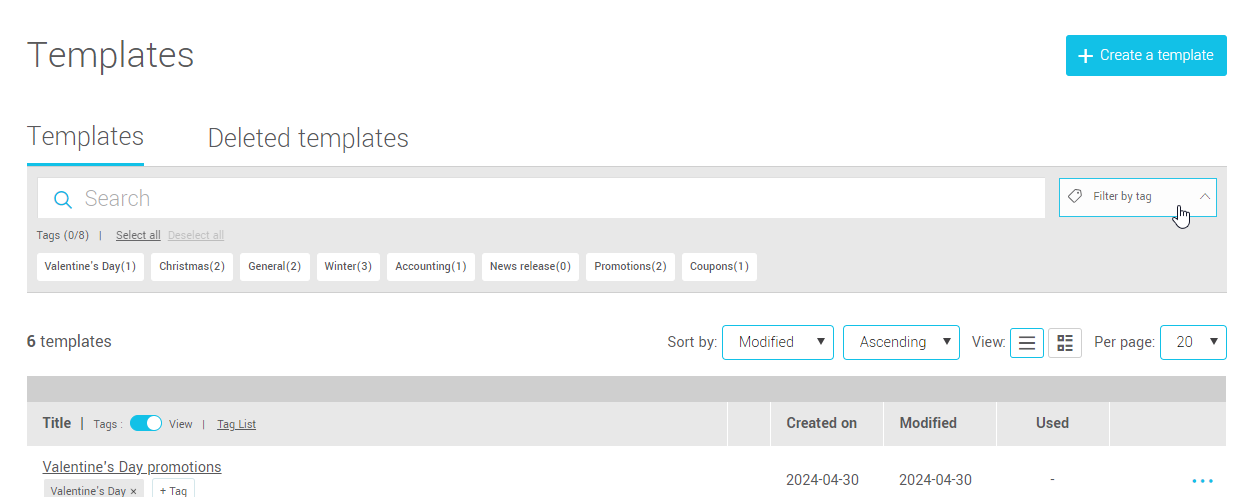
To search for templates by tag, simply click on their name in the search field.
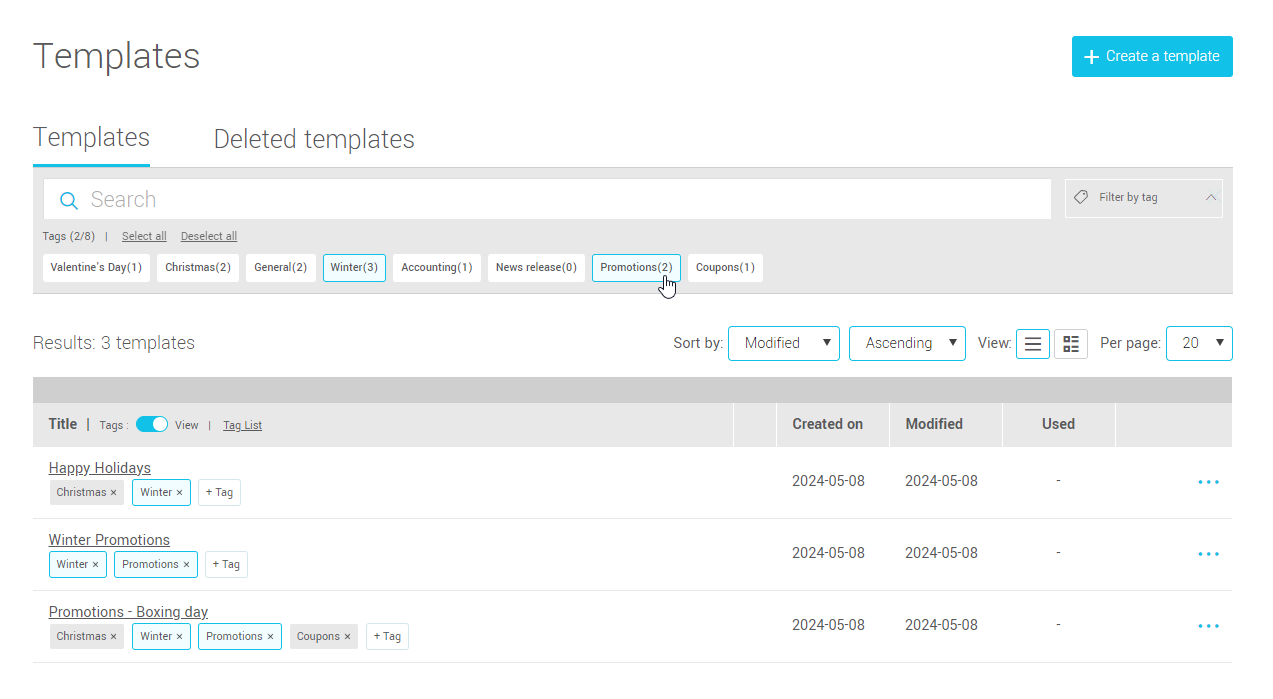
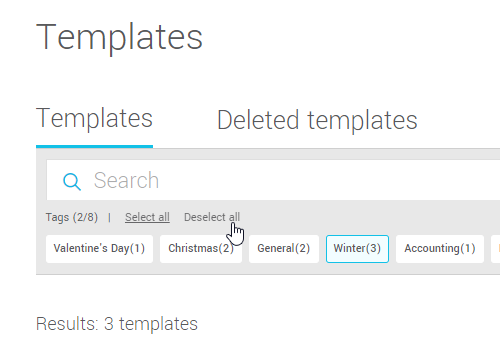
To cancel the tag search, press the tags again or click on the Deselect all link.
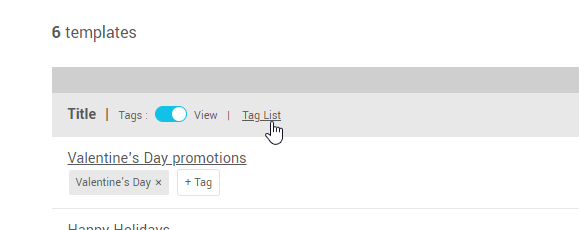
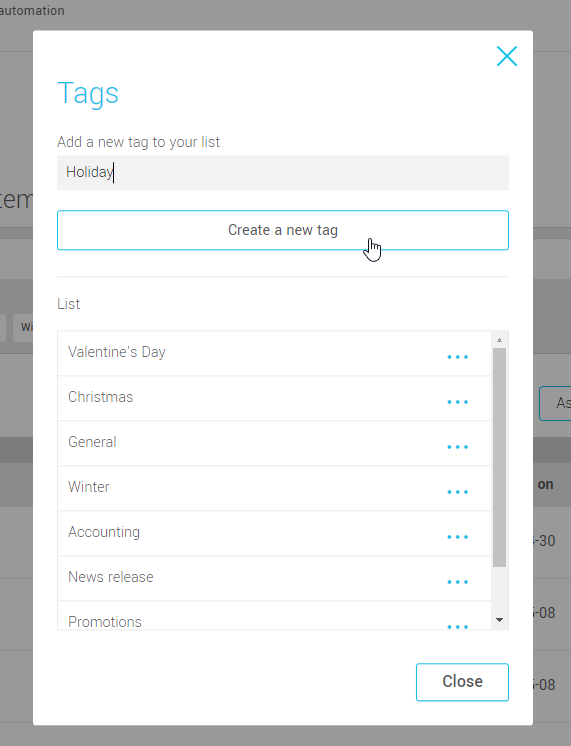
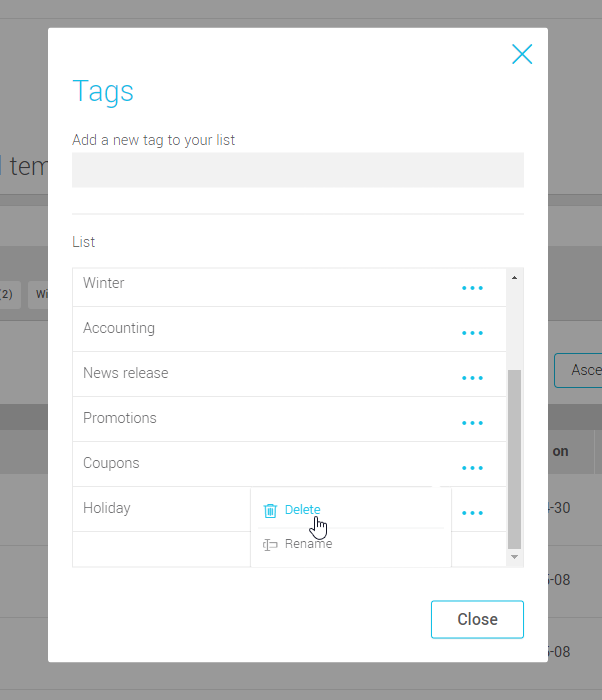
To view the list of tags, create new tags, delete or rename tags, click the Tag List link in the table header at the top of the template list.
Create a new tag
In the Tags window, enter the name of the new tag to be created in the field at the top of the list. Then press the Create a new tag button, which will appear below the field.
Rename a tag
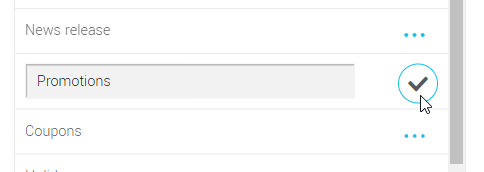
To rename a tag, click on the 3 dots to the right of the tag name to open the action menu. Select Rename. Once you've changed the tag name, click on the check mark icon to the right of the field to confirm.
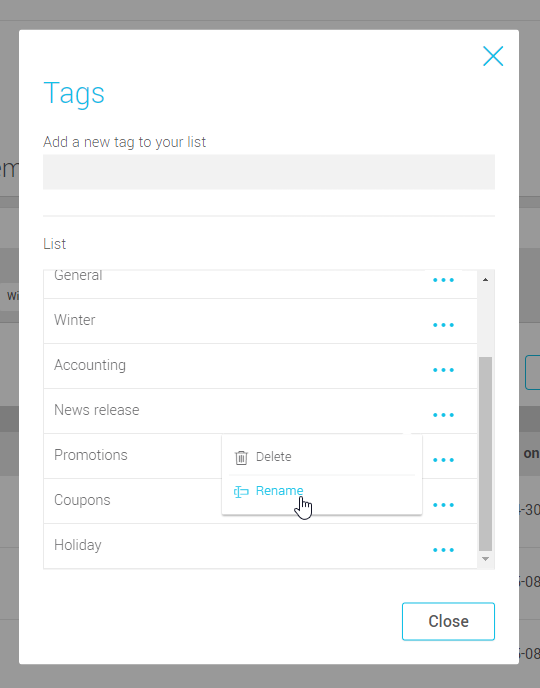
Permanently delete a tag
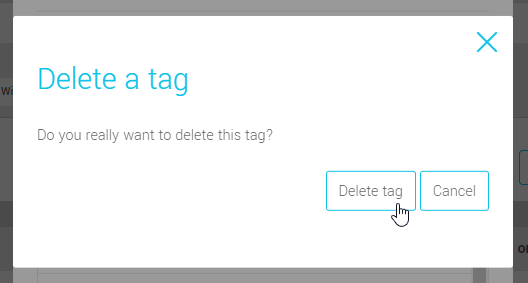
To delete a tag, click on the 3 dots to the right of the tag name to open the action menu. Select Delete. Then click on Confirm in the next window to finalize the action. The deleted tag will be automatically removed from all templates with which it was associated.
Displaying tags
To show or hide tags in the template list, press the switch in the table header at the top of the template list.

To see more tags on a template: