In this article:
Before starting
Learn more about the update profile forms:
- What is an update profile form?
- The benefits of using an update profile form
- What is the difference between a subscription form and an update profile form?
- Choosing the right type of update profile form: with or without email verification
- What to include in your update profile form
What is an update profile form?
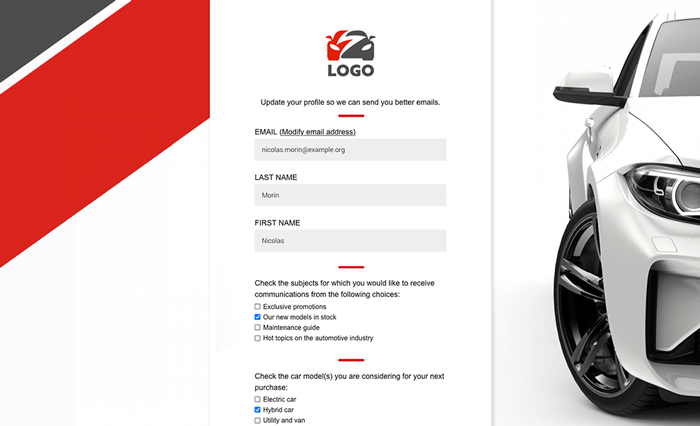
A update profile form, also known as a "preference center", is a place where your subscribers can update their own information (such as their name and email address) by themselves. It also gives them the opportunity to personalize their own email experience. Update profile forms can be used to:
- Offer them several choices of groups, so that they can subscribe to different types of communications
- Ask them their preferred email frequency or language of communication
- Collect more information about them such as their birthday, location, gender or interests.
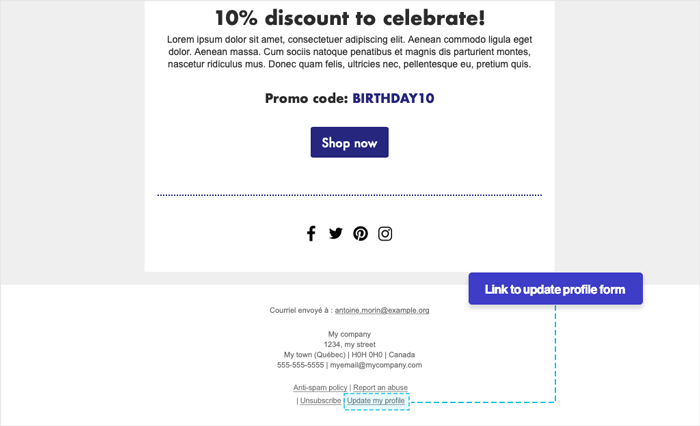
To share this type of form, you must add an update profile link in the body of your email or in its footer.
The benefits of using an update profile form
The advantages of using an update profile form are numerous. With them you could:
- Sender better and more targeted emails
The new data collected will allow you to send your subscribers more targeted content tailored to their preferences, which will improve your results, such as your click-through and open rates, as well as your sales.
- Reduce the number of unsubscription
By giving them the ability to choose which communications they want to subscribe to, your contacts will have alternatives, instead of having to unsubscribe to stop receiving content that is not relevant to them.
- Get closer to your contacts and build brand loyalty
By offering your subscribers a personalized and unique experience, you show them how important they are to you. They are then more likely to increase their engagement with your brand and this will also help you build over time a strong relationship with them.
What is the difference between a subscription form and an update profile form?
Subscription forms allow your prospects and visitors from your website or social networks to subscribe to your mailing list. They are designed to get new subscribers and increase your number of contacts. They can be shared in several places on the web.
Update profile forms, on the other hand, can only be used by your current subscribers. In order for your contacts to update their profile, you must include a link to your update profile form in your mailings. You can add it in your email footer or in the body of the email itself. When they click to access the form, it will be personalized with their own information.
Choosing the right type of update profile form: with or without email verification
There are two types of update profile forms: with and without email verification.
With email verification (recommended)
When your subscribers click the link to update their profile, they will be directed to a page where they will have to click on a button to receive an email that contains the link to their form. This ensures that the profile update is done by the owner of the address.
This option is the most secure, especially if the fields you have added to your form contain information that may be sensitive. Your subscribers often share their emails with their friends. This type of form prevents a third party from accessing their data and modifying information by mistake.
This is the only type of form that allows the subscriber to change their email address and where you can add an option so that your contacts with implied consent can give you their express consent.
Without email verification
Your subscribers will be able to access their form directly by clicking on the update profile link. They will not have to verify their email address first. This method allows faster access to the form, but it is less secure.
With this type of form, your subscribers will not have access to modify their email address, nor to give you their express consent to receive your communications.
What to include in your update profile form
In your update profile forms, you can choose which questions you ask your subscribers and which fields you allow them to update. You can add any of the regular and custom fields that exist in your contacts' detail. There are no mandatory fields. You can also add other types of content, such as a choice of groups, an unsubscribe option, custom text or images.
List of elements you can add to your update profile form
| Regular fields | Custom fields | Other contents |
|
|
|
To be considered
- Your subscribers will be able to see and modify all the information contained in the fields you decide to put in your form. So choose carefully what you decide to display. Your contacts could erase or overwrite some of the data that is important to you. You should also avoid choosing fields that contain sensitive information, such as customer account numbers or internal data that is not relevant to your contacts.
- We live in an era where privacy is a concern for everyone, so be transparent with your contacts in how you will use their information. For example, if you ask for your contacts' birthdate, explain that the purpose is to give them a personalized gift on their anniversary. They will then be more inclined to answer your questions.
- Only ask for information that is relevant to you and that will help you get to know your subscribers better. Limit your questions to the essentials. You can create as many forms as you want, so you could have several update profile forms that serve different purposes, depending on the type of email you send or your target groups.
- To ensure you get the maximum of answers, you could also add an incentive, such as offering a coupon to those who will update their profile. It is possible to send it automatically by using the marketing automation with the Contact updated (from an email) trigger.
Create an update profile form
To create an update profile form:
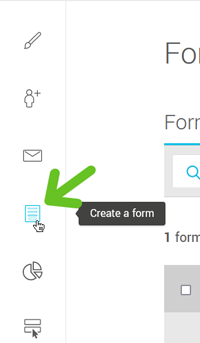
- Open to the menu and click the Add a form button or from the quick access menu on the left side bar, click the icon.
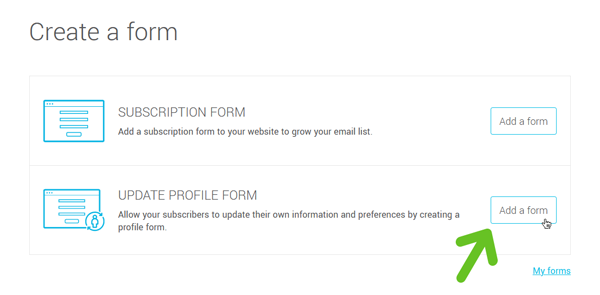
- In the Update profile form box, click Add a form.
- Enter a name for your form. This will only be visible to you.
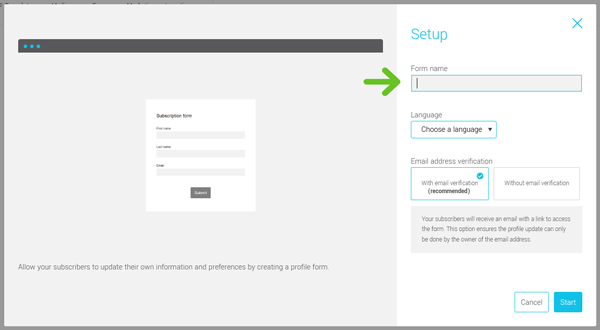
- Choose the language of the form.
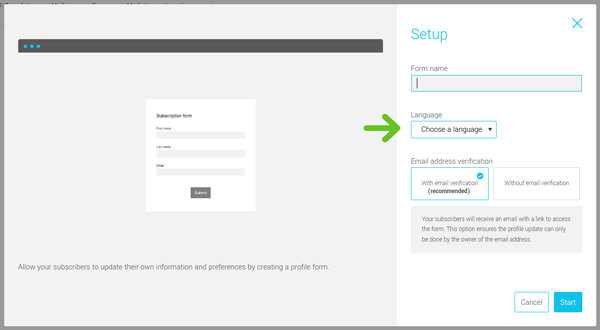
-
Select the type of form: with or without email verification.
Learn the differences between these two types of forms >
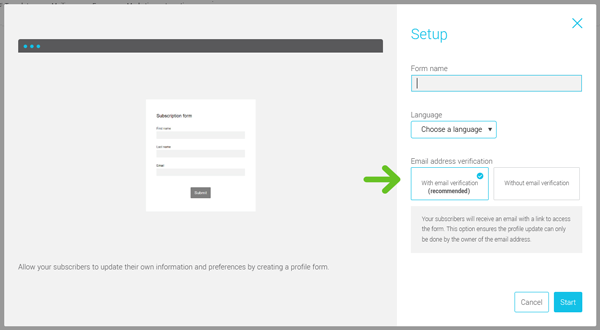
-
Click on Start. All is left to do is to personalize your form.
-
Don't forget to save before leaving the editor.
Before sending your form, make sure you've added your logo and customized the colour of the buttons with your main brand colour in your email content settings. Both can be used in several processes, such when contacts subscribe, unsubscribe or update their profile. This help to keep your brand consistency. Learn how >.